 Sun Exposure
Planning your garden around the sun is one of the most important things that you can do to ensure a successful crop.
Before you get started, take a few days to observe the position of the sun in your garden throughout the day. Draw a rough diagram and mark out the different areas. Take note of how many hours of direct sunlight each area receives, this will help guide most of your planting decisions throughout the year.
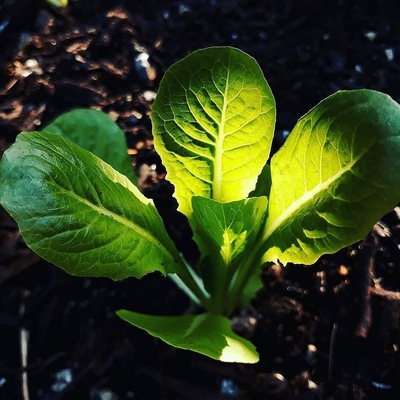
Generally, edible plants which are grown for their leaves require the least amount of sunlight, while fruit bearing plants require the most, root vegetables will do well somewhere in between.
Most fruiting edibles need a minimum of 6-8 hours of direct sunlight in order to produce at their full potential, these include fruiting trees, as well as fruiting plants. Non fruiting edibles, such as herbs and leafy greens will grow reasonably well with as little as 2-4 hours of direct sunlight a day.
Mapping out your garden will allow you to prioritize the sunny spots for the sun loving crops and dedicate the shady spots to the shade tolerant crops.

Sun Requirements
Sun requirements are usually broken up into three categories: Partial Shade, Partial Sun and Full Sun.
While planting crops in a garden that receives full sun is the ideal scenario for most gardeners, a lack of direct sunlight should not prevent you from growing your own food. There are a wide range of veggies that can be grown in shady conditions, you just need to choose the right ones for your growing space.
Partial Shade refers to areas of your garden that receive between 1.5 - 4 hours of sunlight daily.
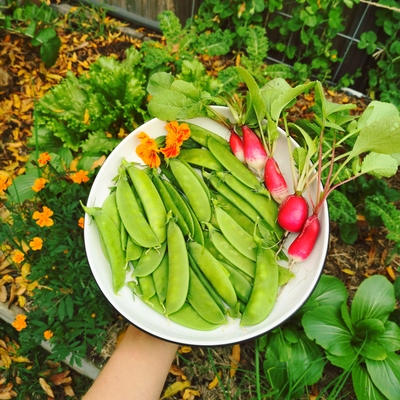
Some of the crops that can be grown in Partial Shade include:
- Arugula (Rocket)
- Lettuces
- Spinach
- Chard (Silverbeet)
- Spring Onions
- Parsley
- Coriander
- Mizuna
- Buk Choy
- Pak Choy
- Sorrel
- Cress
- Endive
Partial Sun refers to areas of your garden that receive between 4 - 6 hours of direct sunlight daily. All of the Partial Shade growing crops listed above will also thrive in Partial Sun conditions.
The following list of crops are great for growing in Partial Sun.
|
|
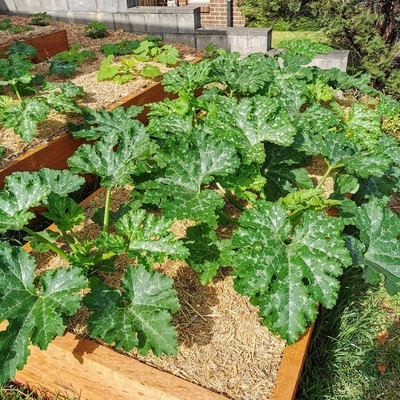
Full Sun refers to an area of your garden that receives at least 6-8 hours of direct sunlight daily. Full Sun is required for growing most fruiting plants and fruiting trees.
The following list of crops, along with all of the crops listed above can be grown in Full Sun.
- Zucchini
- Pumpkin
- Eggplant
- Cucumber
- Tomato
- Peppers
- Chilli
- Corn
- Okra
- Melons
- Cucamelons
- Squash
- Gourds
See the Growing Guides for more information on growing each of these crops, including which season to plant them in.
*Note: When growing in a shady location your watering requirements are lessened. You won’t need to water as frequently as the soil moisture won’t evaporate as quickly as it would in a full sun position. A benefit of growing in a shady spot is that you can enjoy an extended harvest for most leafy greens as they will not bolt (go to flower/seed) as quickly as those grown in a full sun position.
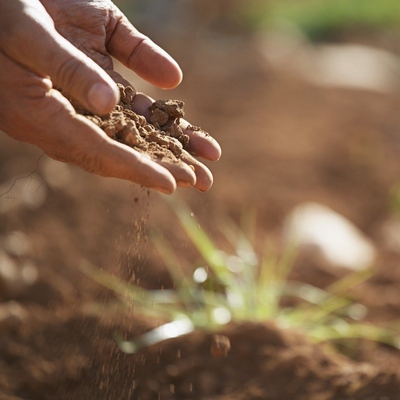
Soil Preparation
Fertile soil is the foundation of a healthy garden and the key to producing an abundant crop. Soil that is well draining, nutritionally balanced and rich in organic matter will produce healthy plants. Healthy plants produce quality crops that have a higher nutrient content and a superior flavour profile than those grown in low quality soil.
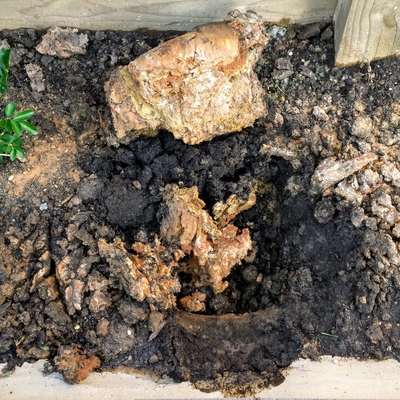
Before planting your edibles, it’s important to prepare your garden beds by gently turning over the soil, adding a few inches of organic compost and watering it in well. It’s best to do this at least 1-2 weeks before planting. You can use homemade compost, well rotted animal manures or bagged compost such as mushroom compost. Compost and manures help to improve soil structure and increase its water holding capacity.
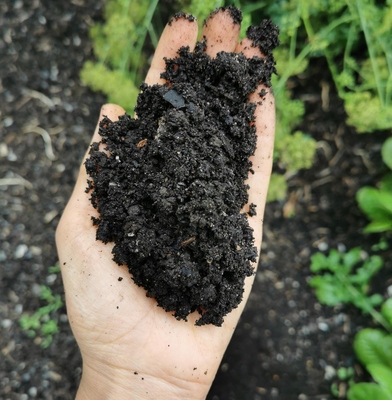
Note: Not all compost is created equally. With store bought compost, you often get what you pay for, so don't be afraid to spend a little more as it's definitely worth the investment. Your compost should be black in colour. It should be moist, fluffy and hold slightly when pressed in your hands. You may see some unbroken down woodchip or twigs in there, however the majority of it should be well broken down. If you can still see a lot of raw material in your compost or if your bagged compost looks like a finely blended wood chip, then it definitely has not finished breaking down. This is often the case with cheap bags of potting mix. While cheap potting mix can be used as a growing medium for some ornamental plants, it should not be used as the main growing medium in an edible garden, as it is void of essential nutrients and can actually rob your plants of nutrients as it breaks down.
For in ground planting, most vegetables only require around 15-20 centimeters of enriched soil to develop a healthy root system. For vegetables with deeper roots, such as potatoes and carrots, prepare the soil by digging a little deeper, roughly 30 centimeters. Work in plenty of compost until the soil is light and well draining.
The same process also applies when planting fruit bearing trees, however you will have to work the soil to a minimum of 2-3 times the size of the trees root ball.
If planting in an area with heavy clay, you may want to consider planting into a raised garden bed. If raised bed gardening is not for you or if you are planting a tree than be sure to incorporate gypsum (a natural clay breaker) and as much organic matter as possible to increase drainage and aerate the soil.
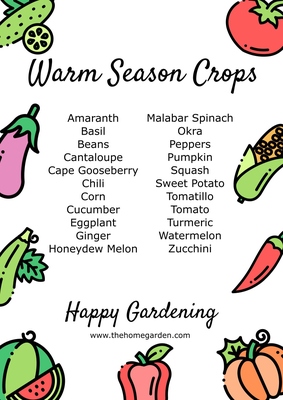
Seasonal Planting
Most crops are seasonal, meaning they will grow best at certain times of the year and will either die off or stop producing at the end of that season. Planting according to the seasons is vital to the success of your garden. When planted in the wrong season, crops can fail to thrive due to non-ideal soil temperatures and prolonged exposure to heat or cold. Weather conditions such as frost can even kill some plants, almost overnight. Stressed, weak plants are more susceptible to pest and disease damage, so it’s definitely best to think about what’s in season prior to planting to ensure that your crops have the best possible chance for success.
Most edibles are grouped into two categories, warm season and cool season crops. Warm season crops are generally planted in spring and continue to grow throughout the summer months and even into early autumn. Cool season crops are generally planted in autumn to grow throughout the winter months and even into early spring. This will vary depending on your climate.
Most herbs are perennial, meaning they will only need to be planted once and will continue to grow year after year. Basil, Coriander (Cilantro), Dill and Parsley are exceptions to this and will need to be replanted annually.
Check out our Resources page for these printable seasonal planting posters.


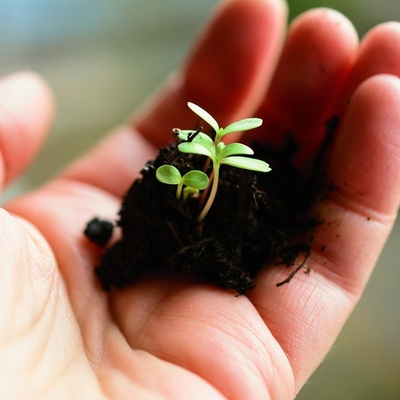
Transplanting seedlings
Are my seedlings ready to be planted out into the garden? This is a very common question and the answer can vary depending on the plant.
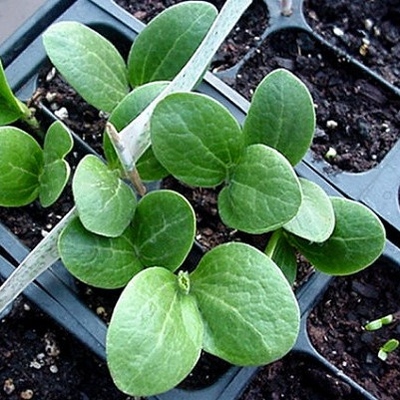
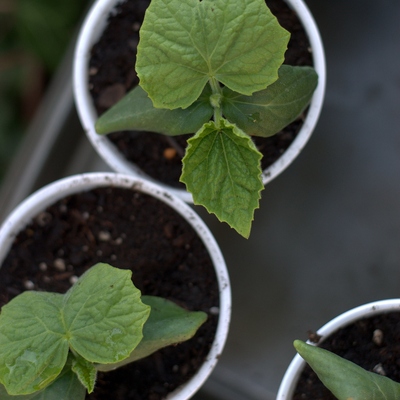
When seeds germinate, the seedlings often emerge with two leaves, these are called Cotyledons. Any leaves that follow are classified as True Leaves. The True Leaves generally pay no resemblance to the Cotyledons, but will resemble the plants mature leaves.
In most cases, once your seedlings have around four true leaves (two sets), they're strong enough to be planted out. Some large leaved plants such as those from the Cucurbitaceae family (Cucumber, Pumpkin, Zucchini, Squash, Gourds & Melons) can be planted out earlier, when they have just one set of true leaves.
Although your seedlings are ready to be transplanted at this stage, they will still require protection from pests and harsh weather conditions.
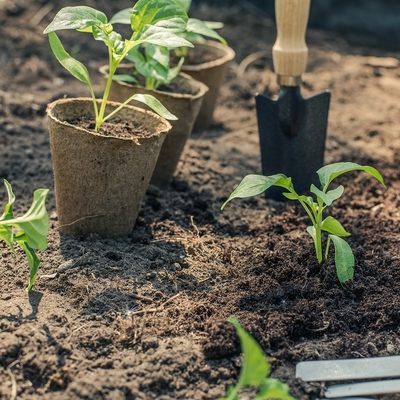
Avoiding Transplant Shock
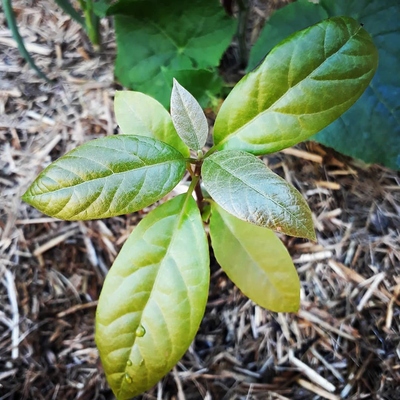
When transplanting seedlings, it’s important to consider where they were grown prior to planting and where you will be transplanting them to. For example, if seedlings were grown indoors or purchased from a nursery, they would have been sheltered from a full days sun. When it comes time for them to be planted outdoors, it’s very important to introduce them to their new environment gradually otherwise they will go into transplant shock (this gradual transition process is often referred to as 'Hardening Off').
Without a gradual exposure to a full days sun, transplants will wilt and even die. You can avoid transplant shock by taking your seedlings out gradually, for example, one hour of morning sun the first day, two hours the second and then slowly creeping up the exposure to a full days sun from there. After a week or so, seedlings should be ready for planting out.
You can also directly transplant your seedlings into the ground and use a shade cloth or cardboard box to provide relief from the sun, particularly during the hottest parts of the day for the first week or two.
Seeds that have been directly sown into the ground do not require hardening off when they emerge as they have already adapted to the environment. They will however require protection from any harsh weather conditions which may arise.
Transplant seedlings on a calm, overcast day if possible. Late afternoon is also a good time as plants are able to recover from the shock of transplanting without having to deal with the harshness of the midday sun. If you don’t get an ideal transplanting day and the weather is hot and sunny, shade the plants until the sun goes down.
When transplanting, your garden soil should be moist but not soggy. The planting hole should be at least twice as wide as the root ball and deep enough so the transplant is at the same depth in the ground as it was in the pot.
If the plant does not come out of the container easily, press on the bottom or roll the edges of the container gently between your hands to loosen the soil. Support the stem by placing the palm of your hand on the surface of the soil, with the stem gently between your two fingers in a ‘scissors’ position. This will help you turn the pot upside down to remove the plant without damaging the stem.
If the root ball looks root bound (like the roots are tightly wrapped, mirroring the shape of the container), gently loosen the roots with your fingers. This will help the roots branch out into the soil. Try to keep as much of the original soil as intact as possible so not to stress the plant too much.
If the seedlings are tangled together by their roots and you would like to separate them, remove them from the pot and place the entire root ball into a bucket of water. Gently wash off the excess soil so that you can untangle the roots.
Once you have planted your seedlings into the soil, water them in well with some seaweed solution. Seaweed helps the plants recover from the transplant and also helps the roots get off to a good start. Keep the bed moist but not wet for the first week or two so that the seedlings can establish themselves.

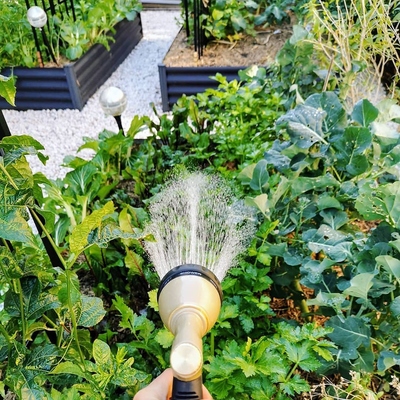
Watering
It is beneficial to keep your plants well watered for the first week or so after planting, particularly in dry/hot weather. After that, it is equally as important to reduce the amount of water you give them.
Reducing the water supply will encourage the plant roots to seek out their own water by branching out deeper and wider into the soil, resulting in a stronger, more established root system. Over-watering, can be very detrimental to plants. A little tip to avoid over-watering, is to move aside any surrounding mulch and push your finger as far down into the soil as you can. If the soil is dry at a fingers depth, then it’s time to water! If it’s damp or wet, hold off on watering as the soil has enough moisture. Excess water can cause the soil to become waterlogged, potentially drowning your plants. You can also purchase a soil moisture meter to eliminate any of the guess work.
Mulch
Mulch is very beneficial to a garden as it supports plant and soil health in many ways. Mulch keeps plant roots cool in summer, helps prevent moisture evaporating from the soil, protects plant roots from frost and provides a sheltered environment for soil life. Mulch also reduces weed growth and releases nutrients into the soil as it breaks down.
When applying mulch, leave a small gap around the base of your plant to allow for air flow. If the mulch sits too close to the base, it can trap moisture and cause the stem or trunk to rot.
Organic mulches such as sugarcane, straw, lucerne and leaf litter are all great choices for vegetable gardens as they are light and break down easily.
Most vegetable crops are rotated seasonally and soil amendments are frequently being made, this is why choosing the correct mulch is very important. Using large course mulches such as woodchips can be problematic. With the soil frequently being disturbed, the large woodchips can become imbedded throughout the soil, leaving air pockets and creating inconsistencies in the soil level. These inconsistencies can cause issues with seed sowing and new plantings. As mulch breaks down it drains nitrogen from the soil, so it's important that it stays on the soils surface as much as possible.
Woodchips definitely have their benefits though! They are the perfect option for perennial garden beds, which are less frequently disturbed. Woodchips are also a great choice for garden pathways as they do a great job of suppressing weeds.
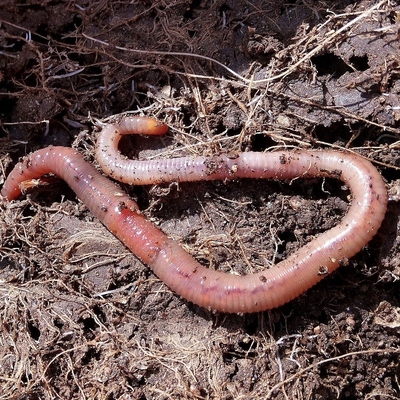
Beneficial Critters
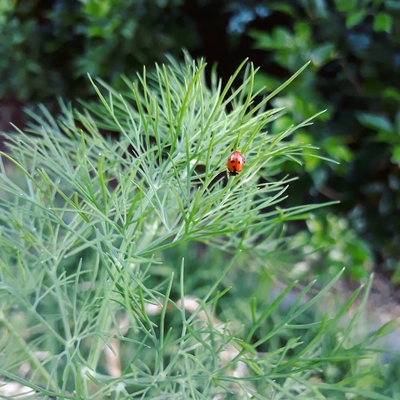
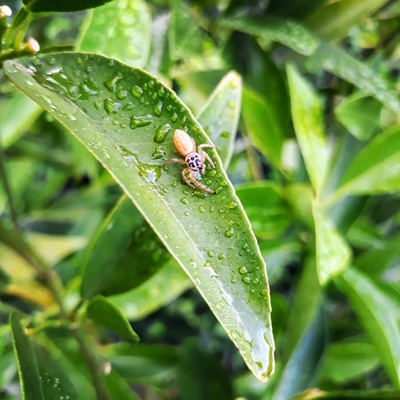
Gardens are a hot spot for creepy crawlies which can be disheartening to many people, particularly beginner gardeners. There is often confusion as to the purpose of these critters and a question as to why they keep invading your garden space. It's important to note that not all critters are pests and some are actually very beneficial and often vital to the success of a garden. Many insects help pollinate plants and feed on destructive pests such as Mites, Aphids and Thrips. Insects such as the Lady Beetle not only feed on pests but also a fungus known as Powdery Mildew, making Lady Beetles a very prized possession among gardeners!
With some careful planning, your organic garden can work as a balanced Ecosystem, with many elements working together in order to keep things in check.
There are many simple ways to attract beneficial insects and other wildlife to your garden. Planting common herbs such as Coriander and Dill and edible flowers such as Marigold and Calendula are a great place to start. See the list below for more great tips.
Tips for attracting Beneficial Insects to your garden
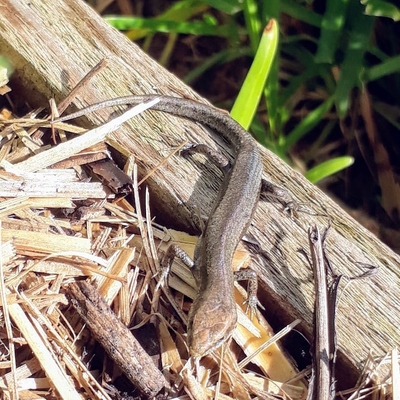
Plant natives. Native plants do a great job of attracting beneficial insects and other wildlife to your garden that are effective in combating pest populations.
Ensure that you have a good source of water in your garden. Bird baths are an invaluable addition to gardens as they provide a permanent water source that both insects and other wildlife can access at all times.
Provide shelter for beneficial insects. Shelter in the form of mulch and rocks provides insects with a sense of security and allows them to feel at home in your garden. 'Bug Hotels' are very popular at the moment and are quite easy and inexpensive to make, they can be constructed out of materials that you already have around your home and garden.
Plant a variety of herbs and allow them to go to flower. Bees and other beneficial insects are very attracted to flowering herbs, they are one of the quickest and easiest ways of attracting insects to your garden.
For more on attracting beneficial insects, see our Beneficial Insects guide.
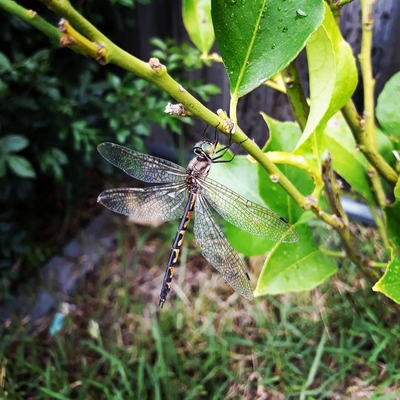
Pollination
Pollination is a very important part of an edible garden. Fruiting edibles require some form of pollination, whether it be insect or wind pollination to produce fruit.
In order to increase food production in your garden, it is worthwhile creating an environment that is attractive to bees and other pollinators. This can be achieved by planting a range of flowering plants. Add in a bird bath with some large rocks inside that sit just above the water level. The rocks will allow the bees to access the water, without the risk of falling in. Having a steady food and water source for these pollinators will help them feel right at home in your garden.


Hand Pollination
If you want to ensure fruit set in your garden but don't want to rely on insect or wind pollination alone, you can hand pollinate your crops. This is a manual form of pollination which involves transferring pollen from a male flower and placing it inside a female flower. Hand pollination is most commonly used on edibles such as zucchini, squash, pumpkin and cucumber, however works well on a wide range of crops.
How to hand pollinate:
Hand pollination is best done in the morning when the male and female flowers are open and at their best.
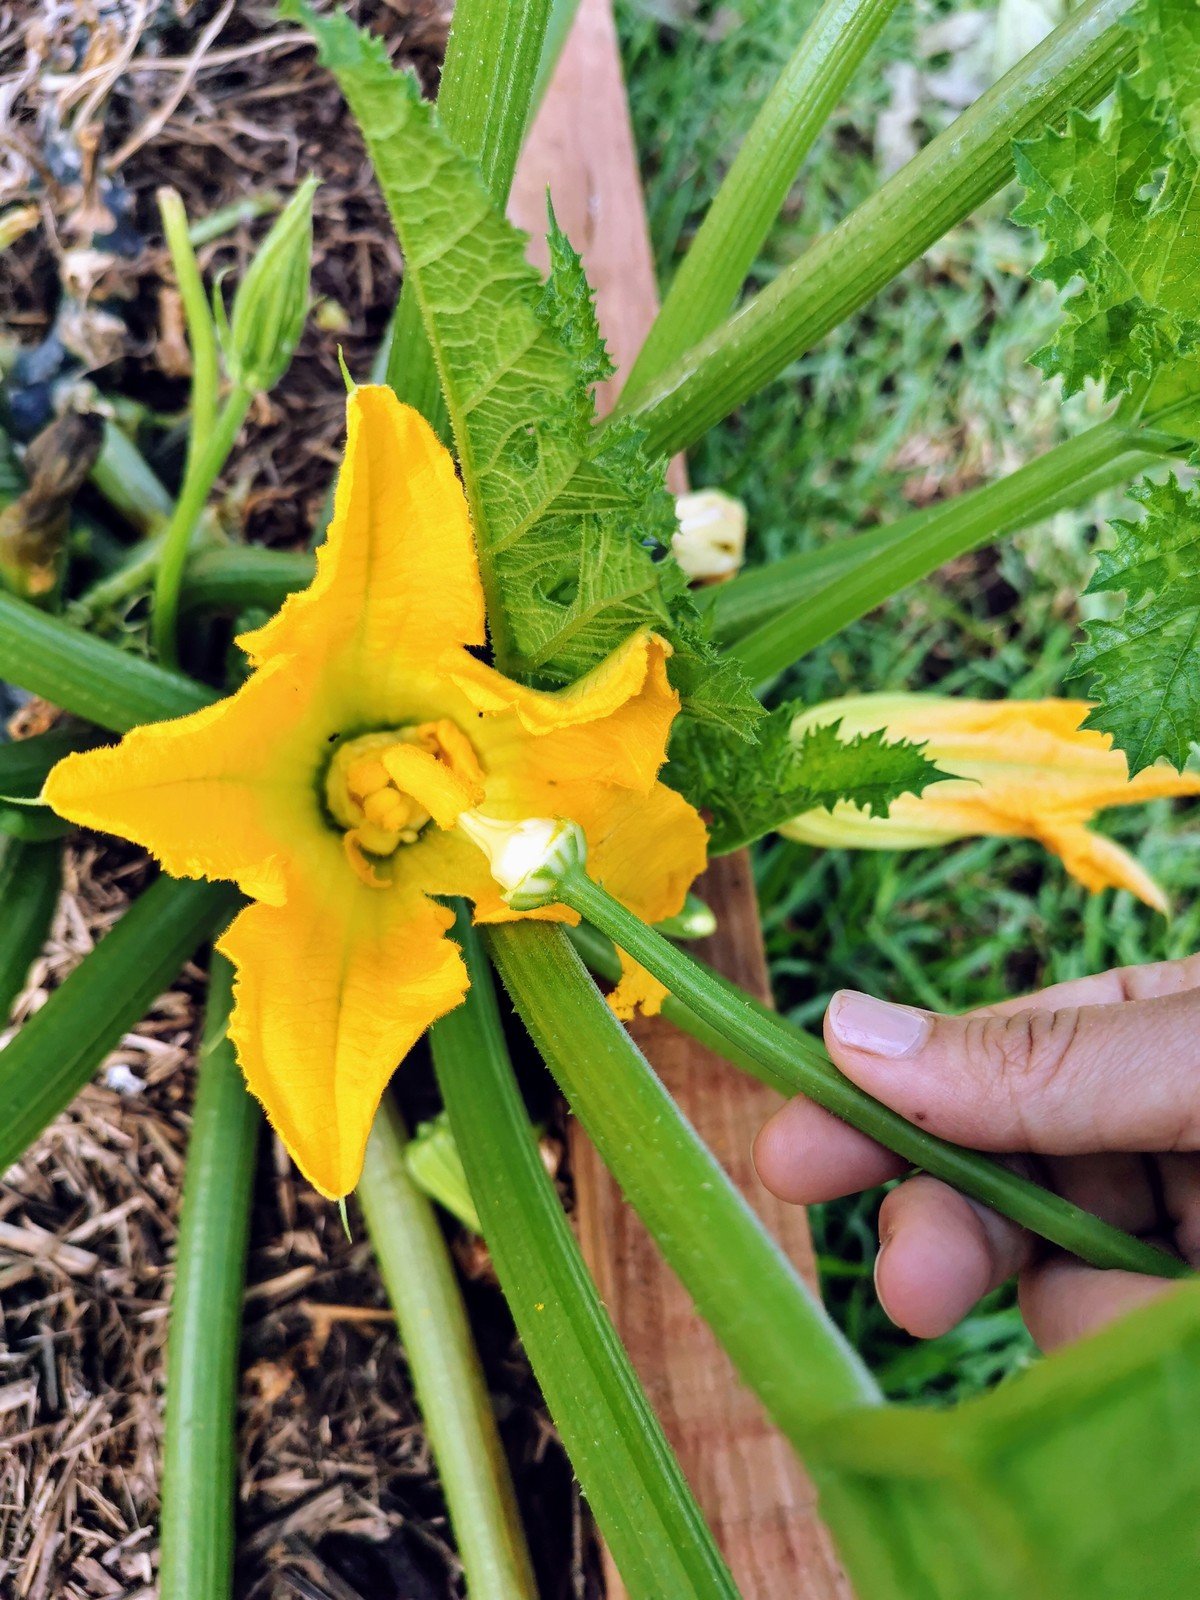
Male flowers have thin stems and look much like a regular flower, while female flowers are attached to a small fruit.
Pollination can be achieved by transferring pollen from a male flower and brushing it into the center of the female flower. You can do this by using a paintbrush or by clipping off a male flower, removing the petals and using the stamen as a paintbrush.
See below for a step-by-step guide.
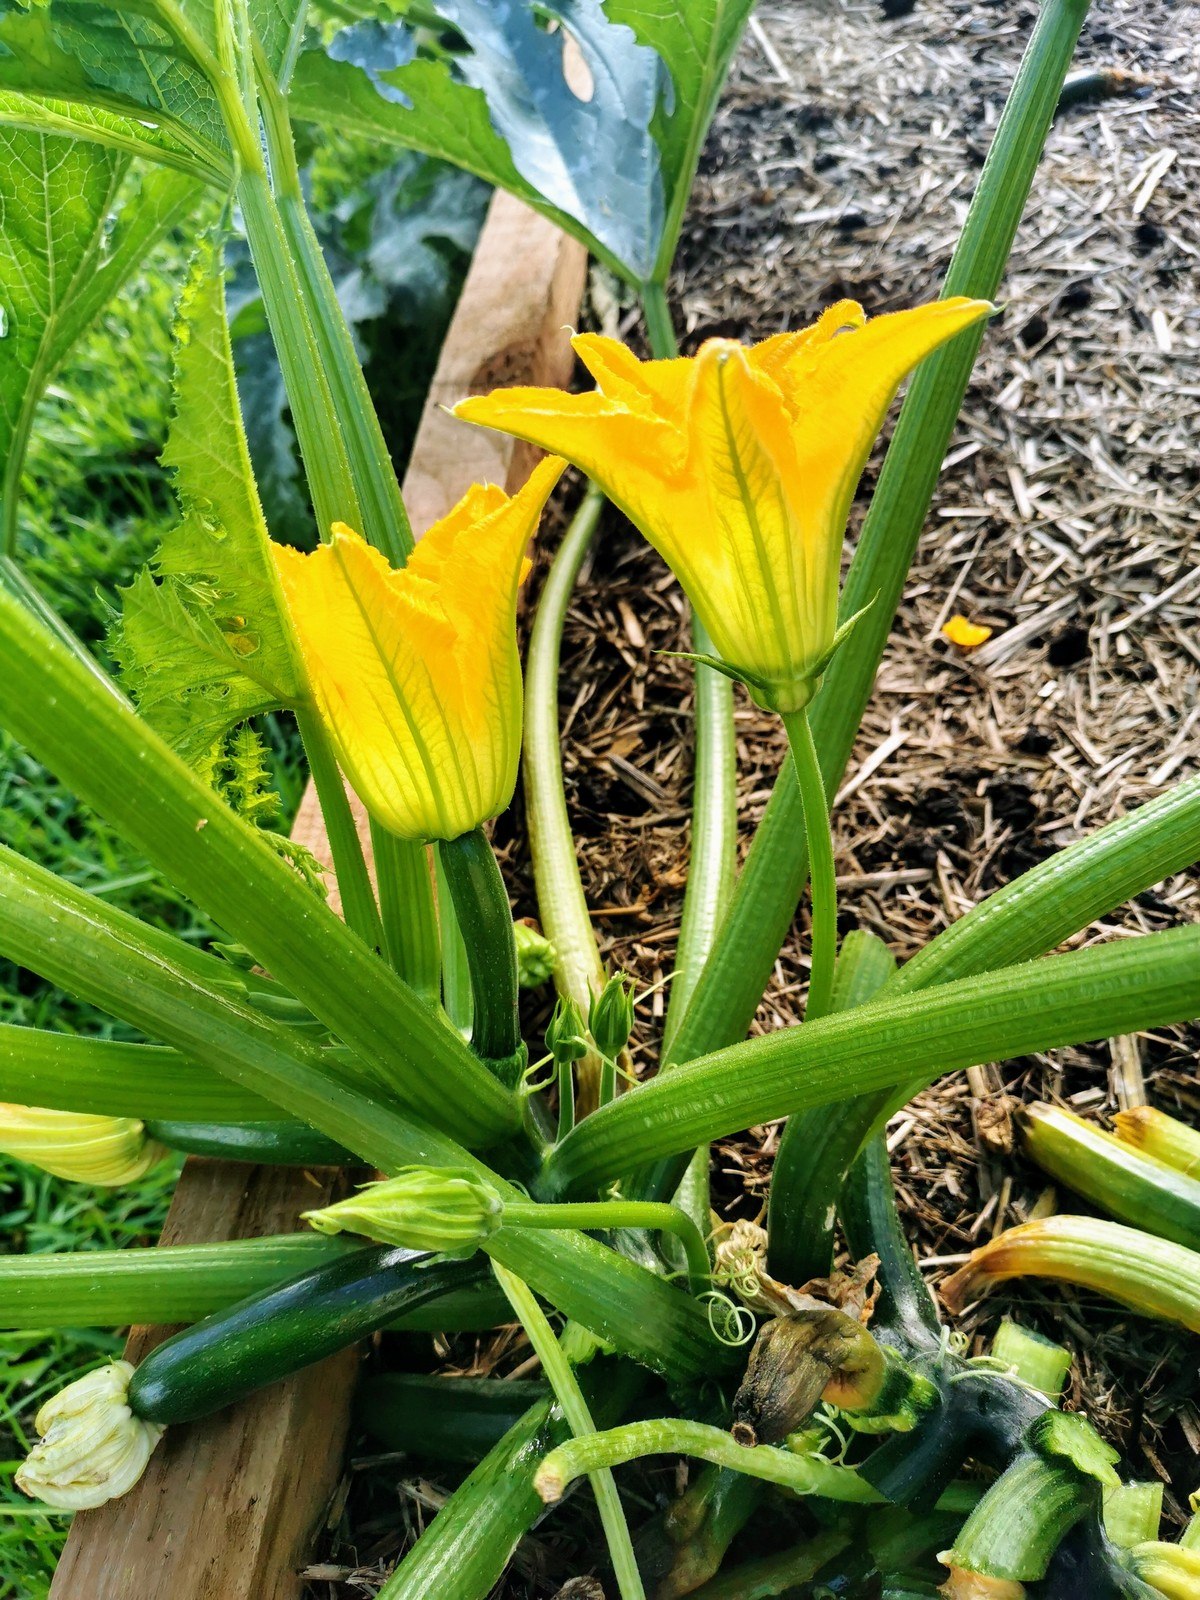
The female flower on the left has a small zucchini at the base, where as the male flower on the right just has a stem.
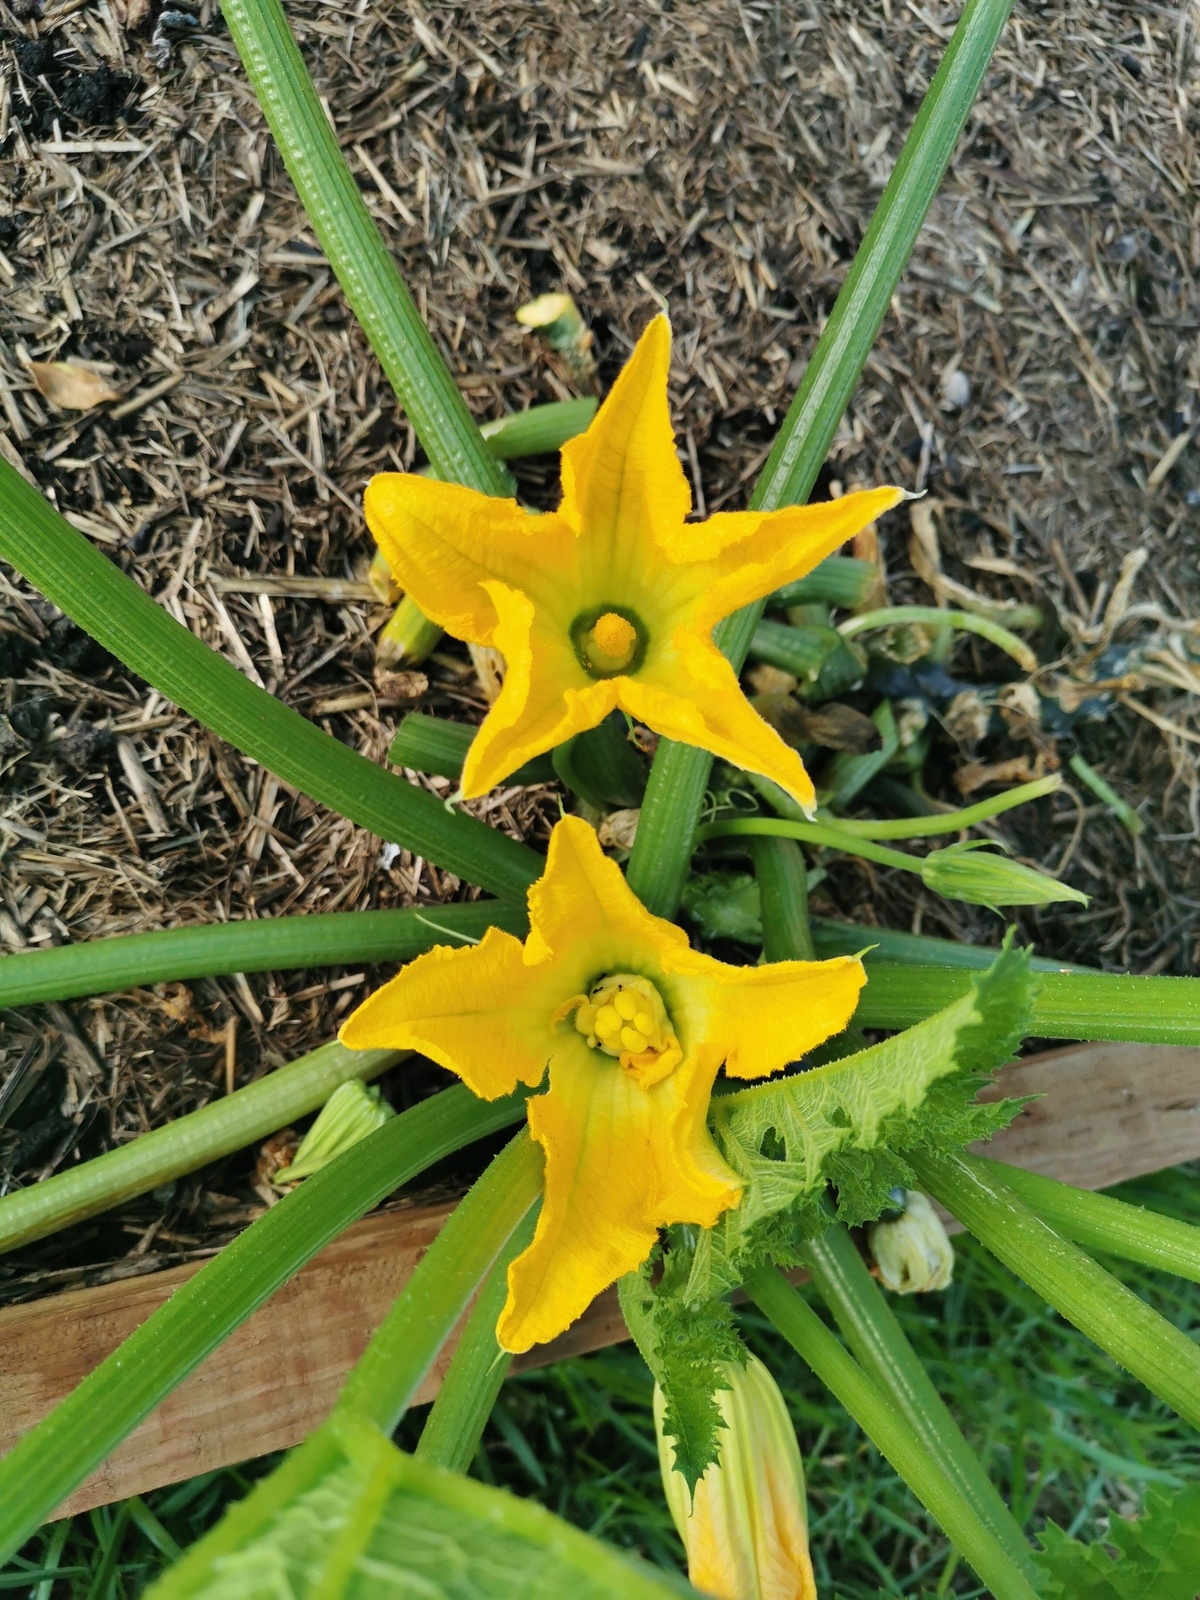
The centre of the male flower (top) is called the Stamen. It is a single point that is covered in pollen.
The centre of the female flower (bottom) is called the Stigma, it is comprised of multiple parts that are clustered together.
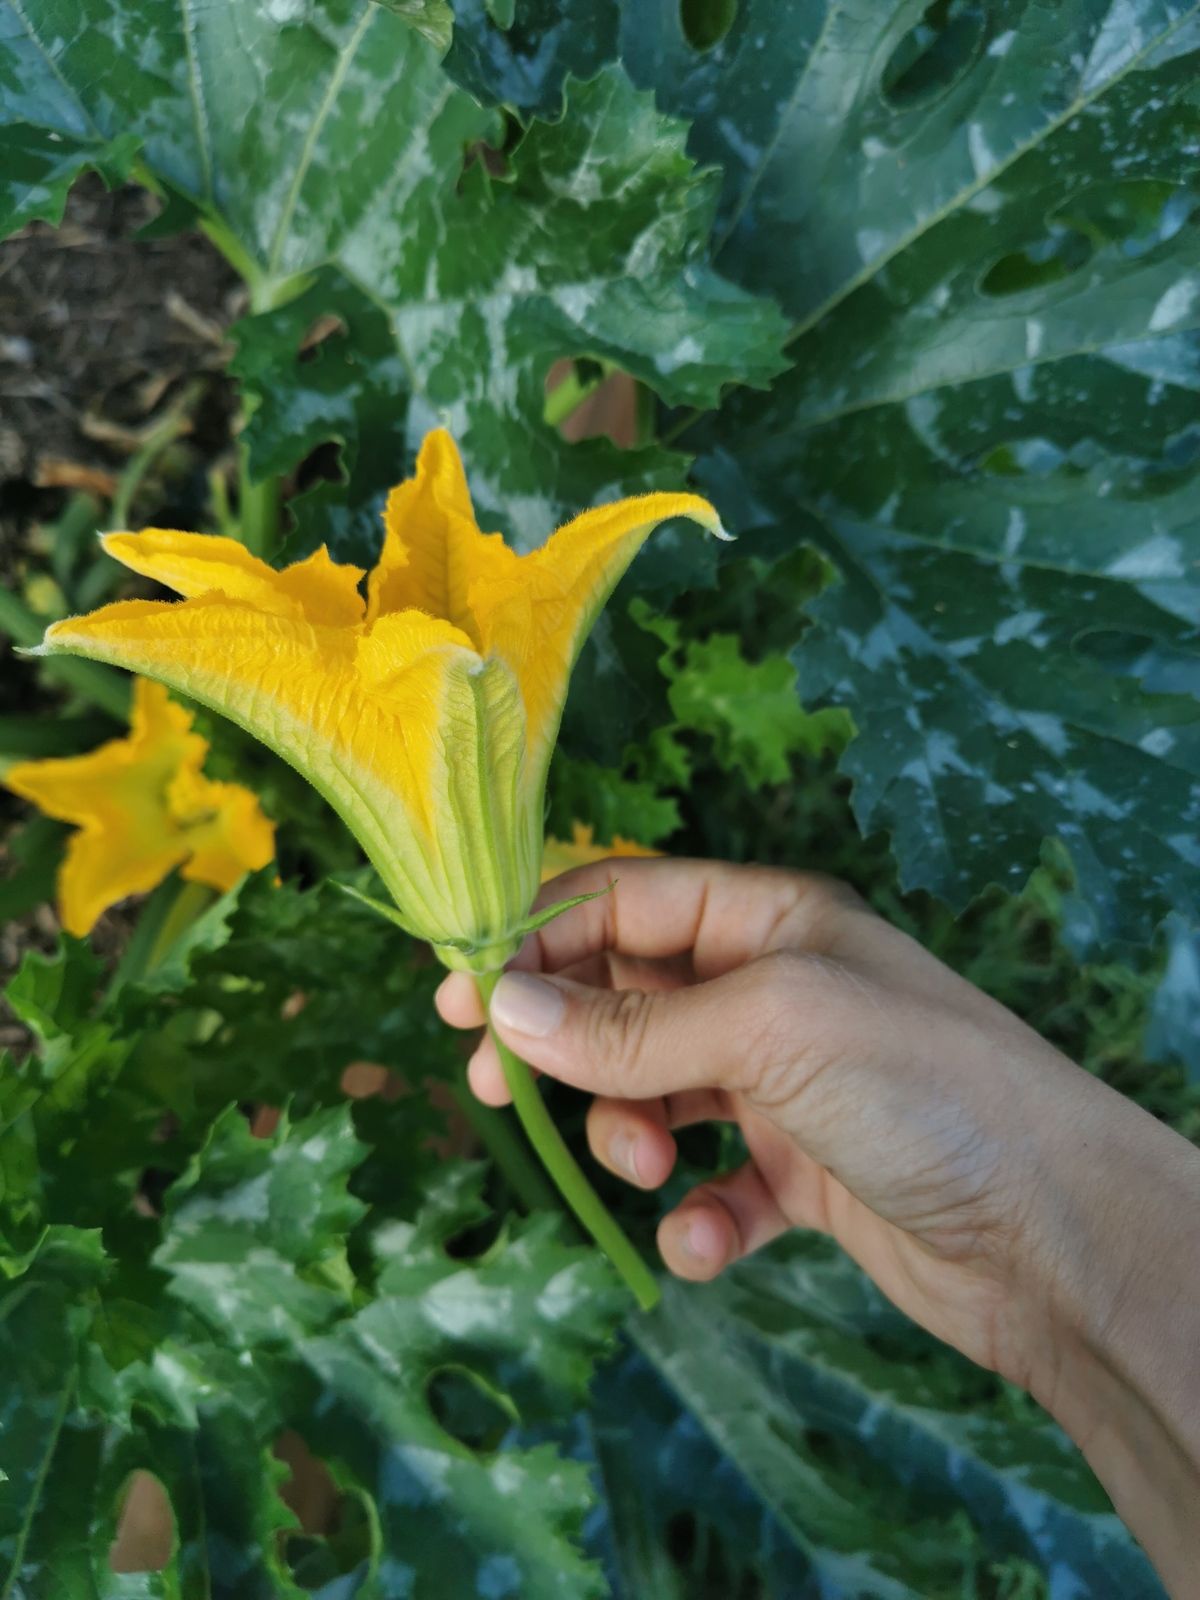
Step 1 - Harvest the male flower
Step 2 - Remove the petals
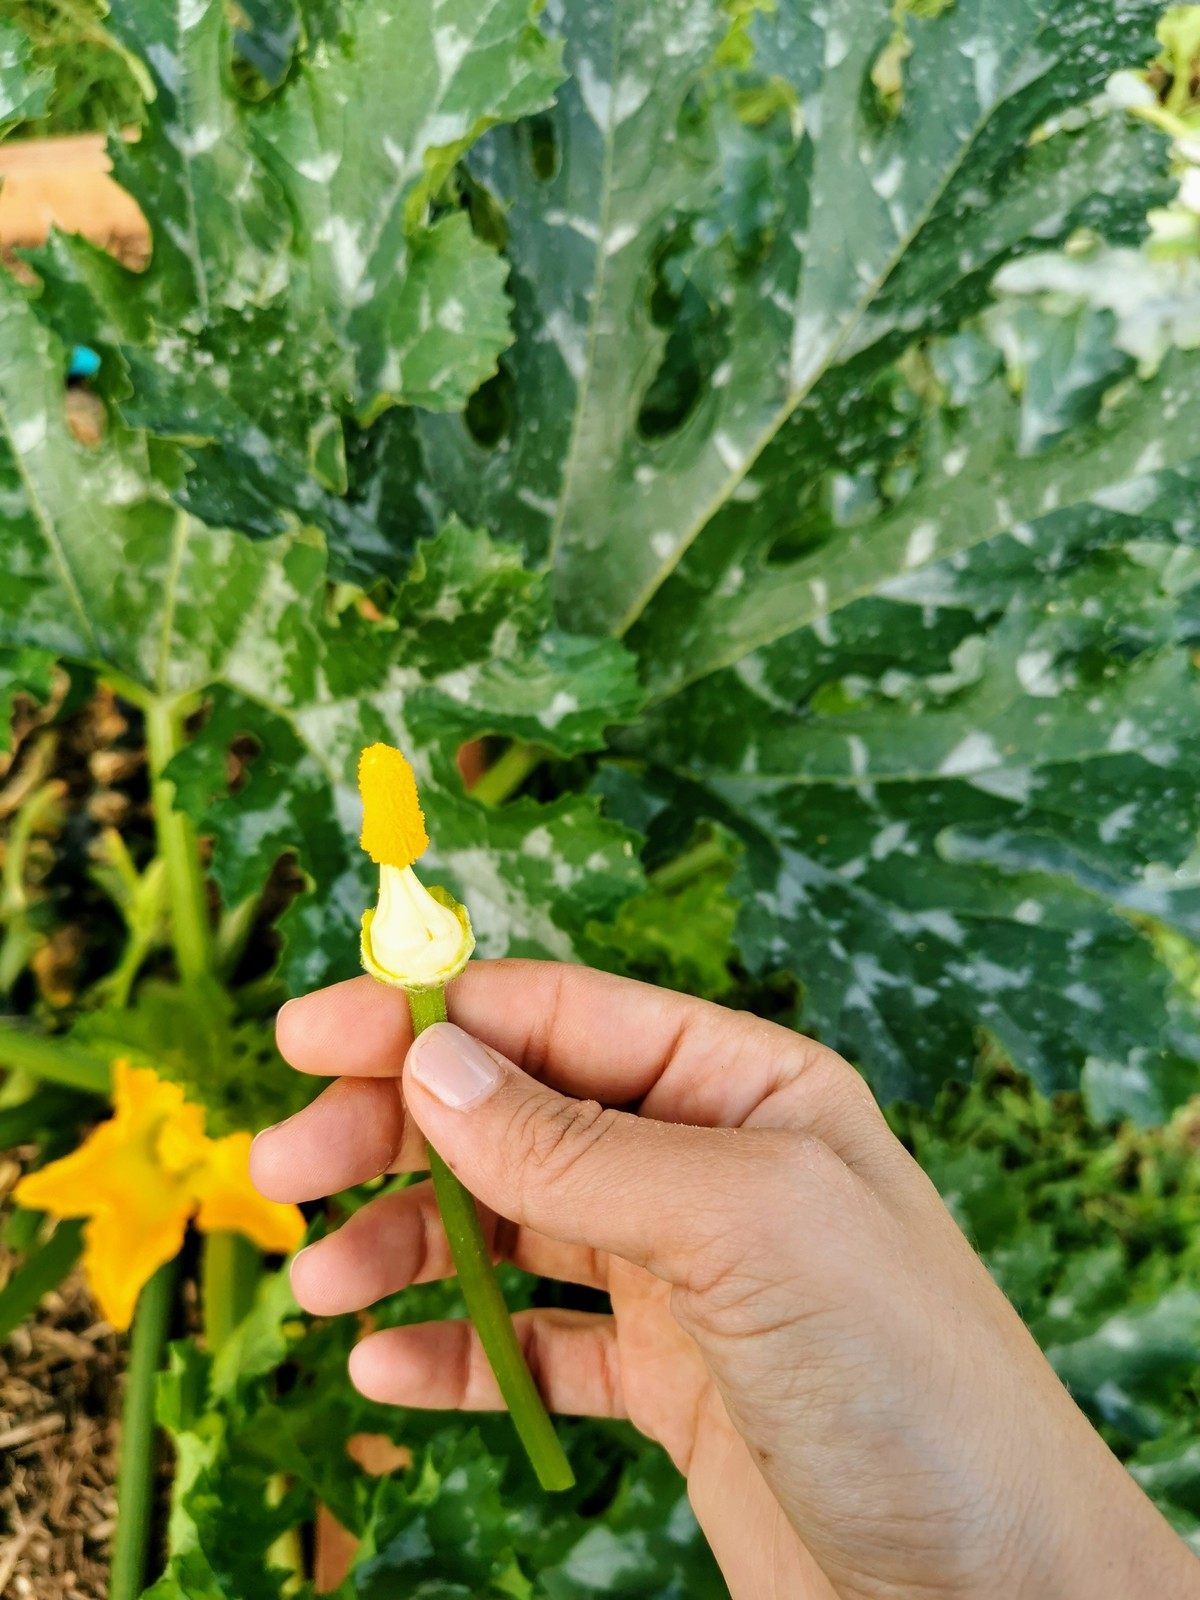
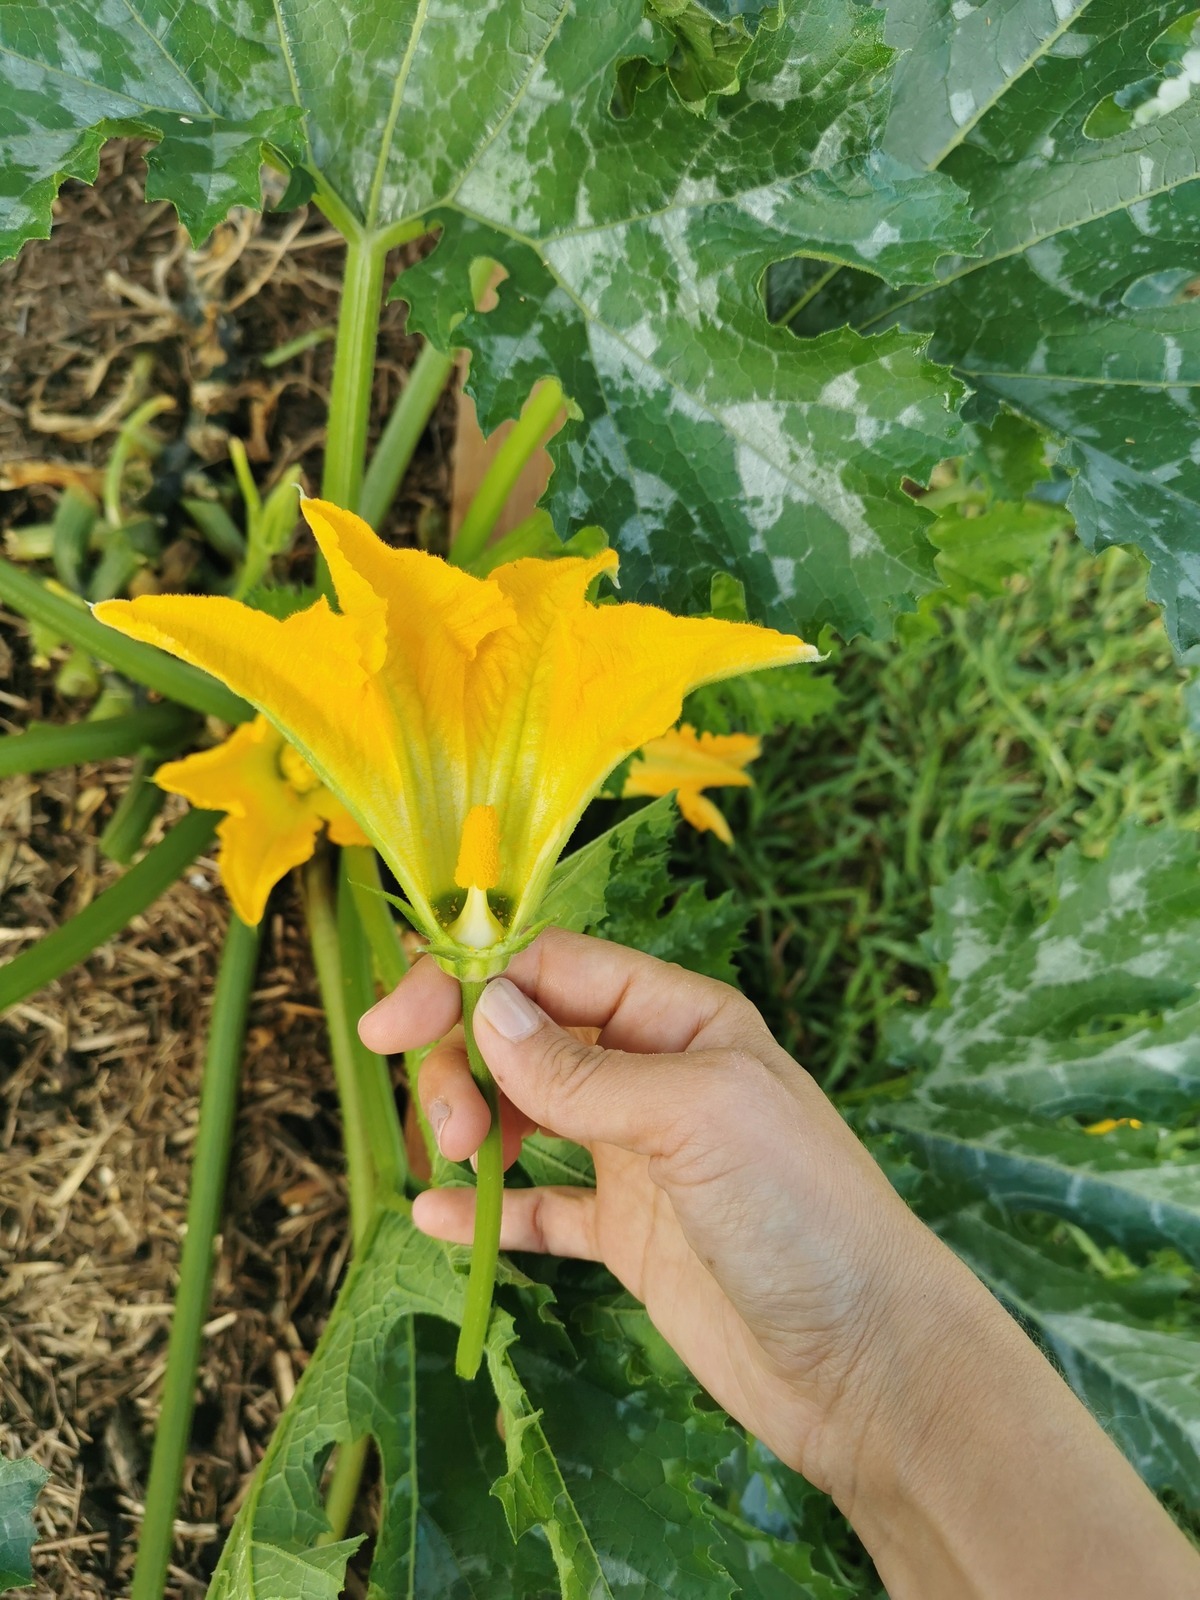
Step 3 - Petals removed to expose the Stamen
Step 4 - Use the Stamen as you would a paintbrush to transfer the pollen onto the Stigma
Note:
You can use the pollen from one male flower to pollinate multiple female flowers.
This method applies to all Squash Family crops.